Deploy your application, basic steps
Here we are going to explain just the basic steps on how to deploy your application manually or by using Bitbucket pipelines.
Manual deploy of your application
Go inside the main application folder, switch to the master branch, so the production files of webpack and environment will be used in your build, run the terminal and execute the following command:
That command will generate a dist folder, which contains all the files of the project. Use that folder in your hosting provider.
If you don’t have a hosting provider, we recommend you to use the AWS3, you can create a free account on: AWS Management Console.
Deploy to AWS3 service
Login and navigate to S3 under service storage option.
The first thing you will need to do is to create an s3 bucket name, choose it wisely, since the exposed URL will be like this:
Following the bucket name, you need to select the region, which will be [REGION-CODE].
Finally create your s3 bucket, and upload your dist folder within the bucket.
You can also connect it to your domain, Use your domain for a static website in an Amazon S3 bucket.
How to deploy your cash register application manually?
The steps are the same as above, but you need to make sure that your webpack.prod.config.js file in your main app is properly configured.
Within the retailgear-app-cashregister-v1 run the terminal and execute ng build –configuration production (Angular), you will get the dist folder, use that folder in your hosting provider.
If you don’t have a hosting provider, we recommend you to use the AWS S3, you can create a free account on: AWS Management Console.
Use Bitbucket pipelines with AWS3 to deploy your application
You can hire us to set up the pipeline. Contact us
Pull the latest code version from the master-r branch into your development branch, resolve possible merge conflicts and switch to your master branch. If you don't have a master branch, just create one based on your development branch.
Please note that master-r and master are two different branches. Your development branch was created from master-r and your master branch will be created from your development branch.
You will notice that within your application folders, the bitbucket-pipelines.yml is already present.
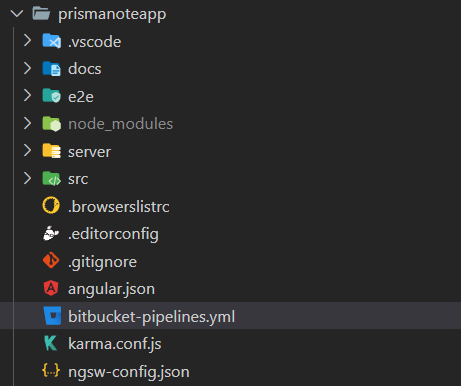
The bitbucket-pipelines.yml file will look like the below code, you can copy that and edit it as you need.
If you want to use bitbucket pipeline you will have to configure that properly on bitbucket.
First of all make sure to have set up an AWS S3 bucket, you can create a free account here: AWS Management Console.
The next step is to add your AWS credentials to Bitbucket Pipelines, in your repo go to Settings, under Pipelines, select Repository variables and add the following variables:
- AWS_ACCESS_KEY_ID
- AWS_SECRET_ACCESS_KEY
- AWS_DEFAULT_REGION
- S3_BUCKET
For further information about variables read: Variables and secrets | Bitbucket Cloud | Atlassian Support